Bokeh: A Photographer’s Guide

As photographers, when we hear the word “bokeh”, we probably already have a visual in our mind of its meaning. Since bokeh can be somewhat abstract and subjective, describing it can be difficult.
Table of Contents
What is Bokeh?
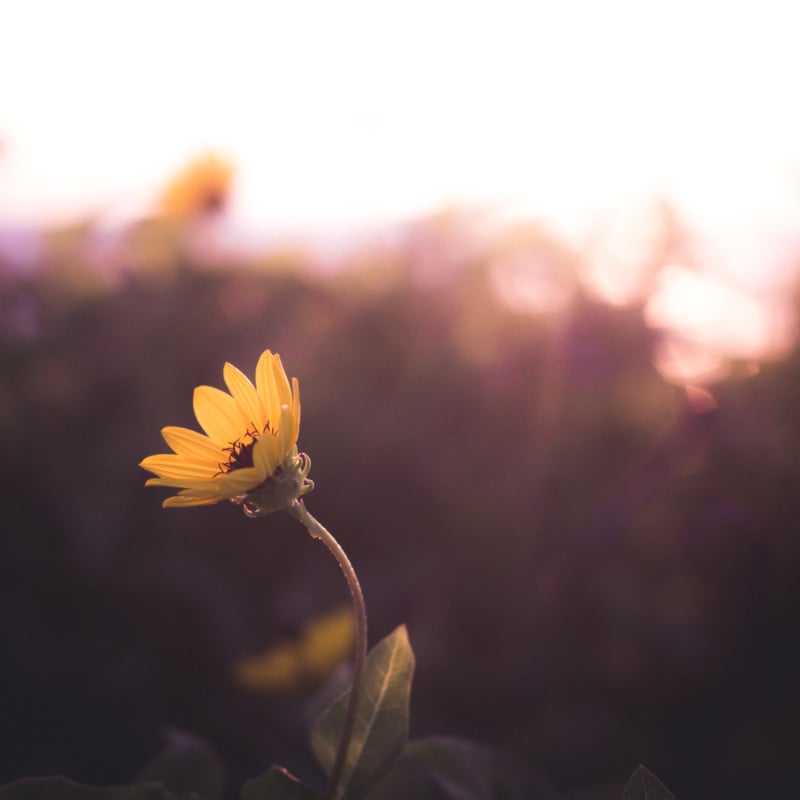
Bokeh is a word that attempts to describe the smoothness and quality of background blur in a photograph when shooting with a shallow depth of field. Bokeh is regarded as pleasing to the eye and has a positive aesthetic quality in a photo. Usually, the subject of a photo is shot in focus, while the background is smoothly blurred, rendering any points of light into soft, pleasing shapes.
While bokeh can be pleasing and beautiful to look at, it is also a byproduct of using a shallow depth of field, which can help isolate the subject of your photo from the background. This is a common technique in portrait and nature photography, where separating the subject from a distracting background is preferred.
The Origin of the Word Bokeh
The origins of the word come from the Japanese “boke” (暈け/ボケ), which translates roughly to the English word “blur” or “haze”.
The English word “bokeh” was made popular in 1997 after then Photo Techniques magazine editor Mike Johnston, who now publishes The Online Photographer, commissioned a series of articles about the topic.
“I first learned about ‘bo-ke’ or boke in 1995, from Carl Weese, who learned about it from our mutual friend the oracular and extreme Oren Grad, who holds eight Master’s degrees, three Ph.D.s, and an M.D., and who evidently taught himself Japanese so he could read Japanese photo magazines,” Johnston explained in a 2004 column at The Luminous Landscape. “(Perhaps I exaggerate these facts, but only slightly.)
“I then commissioned and published three articles about it in the March/April 1997 issue of Photo Techniques back when I was editor […] It’s one of the few issues of that magazine that sold out.”
Johnston says that his personal contribution was adding the letter “h” to the Japanese word to prevent mispronunciations in English.
“I decided that people too readily mispronounced ‘boke,’ so I added an ‘h’ to the word in our articles, and voilá, ‘bokeh’ was born,” he wrote.
How to Pronounce Bokeh
So how do you pronounce “bokeh”? Johnston explained in 2004 that it should be the Japanese pronunciation of the original word.
“Actually, to be precise, what I had noticed was not just that people mispronounced the word as it was commonly spelled, but that they had a tendency to ridicule it, making lame jokes about it as if it rhymed with ‘smoke’ or ‘toke’ or ‘joke’,” he wrote. “Actually, even spelled boke, it is properly pronounced with bo as in bone and ke as in Kenneth, with equal stress on either syllable.”
If Johnston’s original intended pronunciation is to be considered the correct, official one, then common mispronunciations these days include everything from boke (which rhymes with “joke”), to bo-kay (which rhymes with “okay”, with emphasis on the second syllable) to bo-kuh (which rhymes with “no duh”).
When Bokeh Appears in a Photo
There are several things that contribute to creating bokeh in a photograph, including both techniques and hardware choices. The key to creating the bokeh effect is using a shallow depth of field.
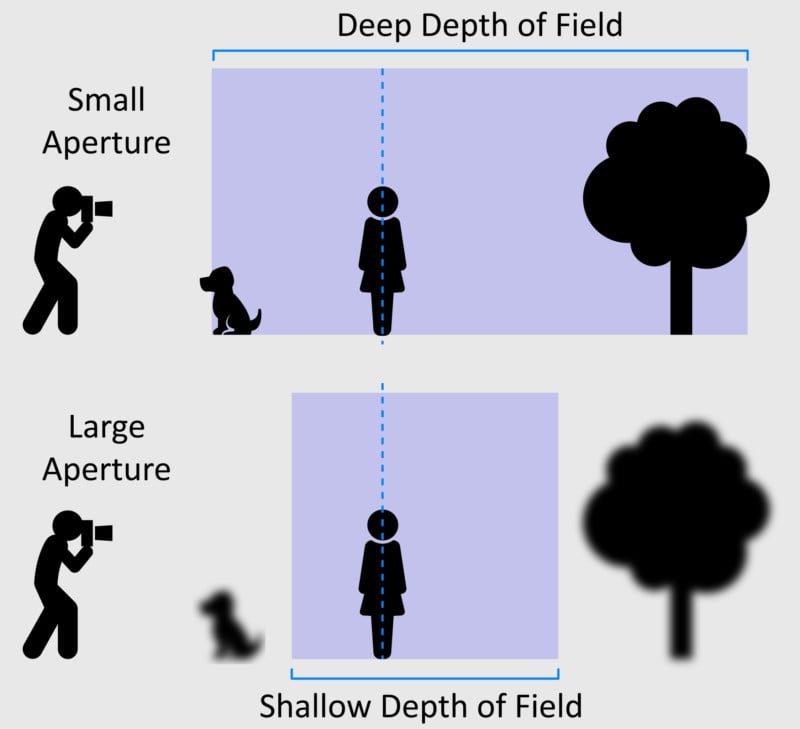
Depth of field is the range of focus for an image, or how much of an image is in focus versus how much is out of focus or blurred. Depth of field is determined by several factors, including the aperture setting, distance from the subject to its background, and even the lens itself.
The aperture is composed of blades that expand or contract depending on how much light the photographer wants to let into the lens. Contracting the aperture blades into a smaller opening lets in less light and increases the depth of field in the image, meaning a larger range of distances in the scene will be rendered as in focus. Opening the aperture blades into a larger opening will allow in more light and provide a more shallow depth of field, meaning more of a scene in front and behind the focus point is out of focus.
When a shutter is pressed and the aperture opened, light enters the camera lens based on the aperture size. If the aperture is large, causing a shallow depth of field, more of the image will be smooth and blurred (usually the background if focusing on a subject in the foreground), and points of light in the background will be pleasantly blurred.

The shape of the aperture blade determines the basic shapes of these points. Rounded blades will produce more round bokeh, while angled blades will produce a different look.
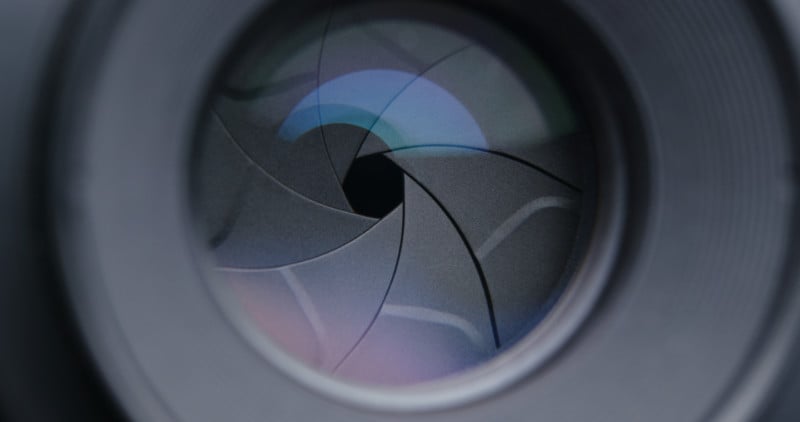
Having more aperture blades will generally give a lens a rounder aperture and smoother bokeh than a lens with fewer blades. Lenses are often marketed with the number of blades and the quality of having beautiful bokeh, which is sometimes described as “smooth” and “creamy.”
It is also possible to create bokeh with custom shapes, which will be discussed later in this article.
A Step-by-Step Guide to Creating Bokeh
Want to get bokeh in your own photographs? Here is a step-by-step beginner’s guide:
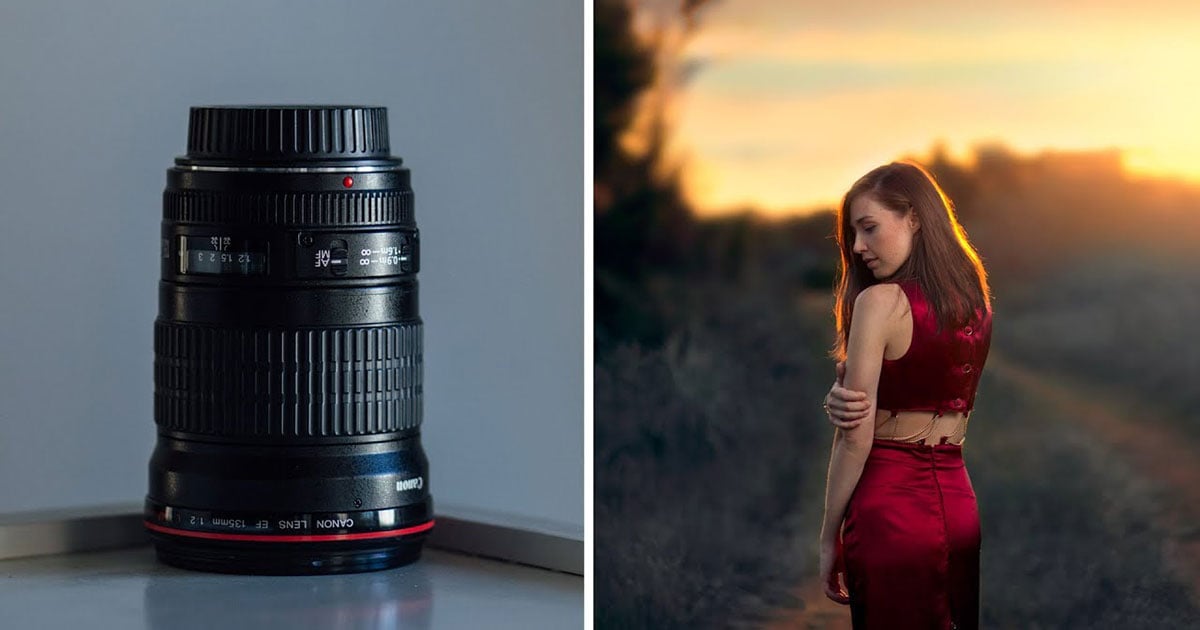
1. Choose an optimal lens, which usually means a fast lens capable of an aperture of f/2.8 or larger. This will allow you to more easily shoot with a greater amount of background blur. This is the typical route photographers take to achieve blurry backgrounds.
Note: In addition to the method described here involving using a large aperture, you can also halve your depth of field by increasing your focal length (i.e. shooting with a more telephoto lens) or by reducing your distance to your subject. This means you can create beautiful bokeh an aperture like f/11 by posing your subject in front of a distant background.
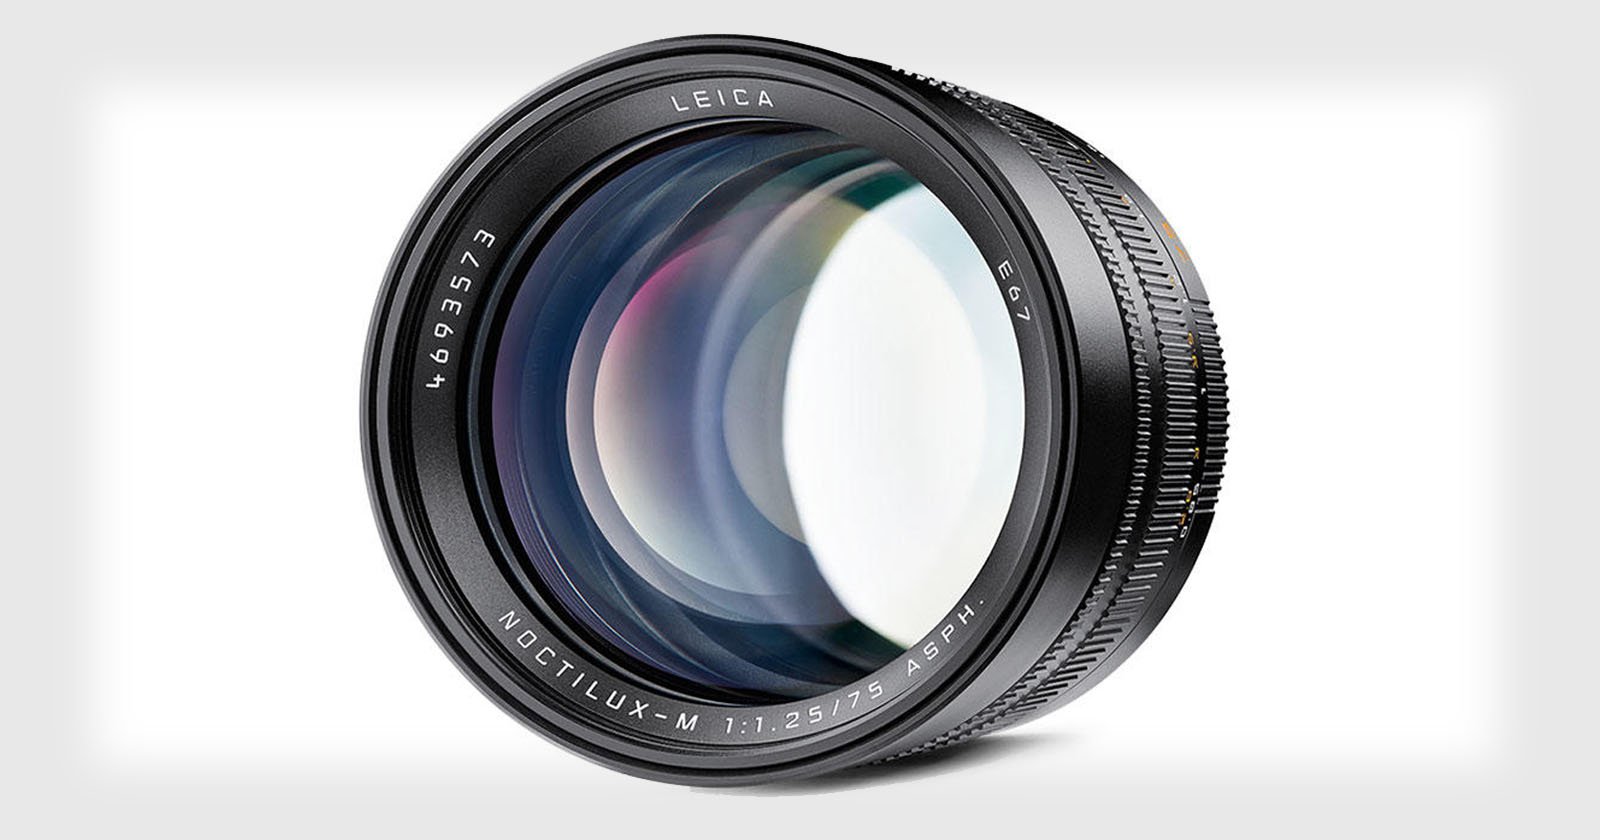
2. Shoot using as wide of an aperture as possible. When shooting, make sure conditions allow you to set your aperture to a large “wide open” setting, such as f/2.8, f/1.8, or even f/1.4. Doing this forces a shallower depth of field, meaning the plane of the image that will be in focus on the subject is very thin, and everything else outside that plane will potentially appear out of focus and blurry, thereby producing bokeh.
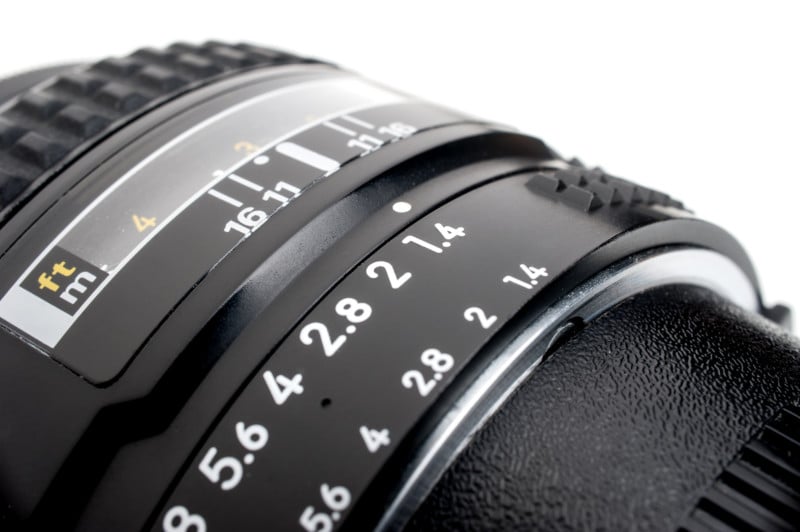
While a very fast lens capable of opening up to an aperture of f/1.4 or even lower gives you a much better chance of capturing bokeh, the extremely shallow depth of field means capturing your entire subject in sharp focus can be more difficult — the depth of field of ultra-fast lenses can be so shallow that nailing focus on a person’s eye can mean the nose is out of focus.
3. Ensure that the depth of the scene is set up correctly, as this greatly influences the amount and quality of bokeh you’ll be able to capture. Ideally, you’ll want to be close to the subject you’re focusing on. Then you’ll want to make sure the background is much further away than the subject. This increase in distance will produce more background blur when using the appropriate aperture.
For portraiture, it’s tempting to place a subject near a surface such as a wall, fence, or other backdrops, but this will make it nearly impossible to achieve any bokeh at all.
4. Use a longer focal length, as the focal length of the lens can also play a part in creating bokeh. In general, longer focal lengths can produce more bokeh effect. So, in theory, an 85mm lens can produce more bokeh than a 50mm lens. Of course, you’ll want to use the lens that produces the image you’re looking to create, but keep in mind that longer focal lengths can increase the bokeh in the image.
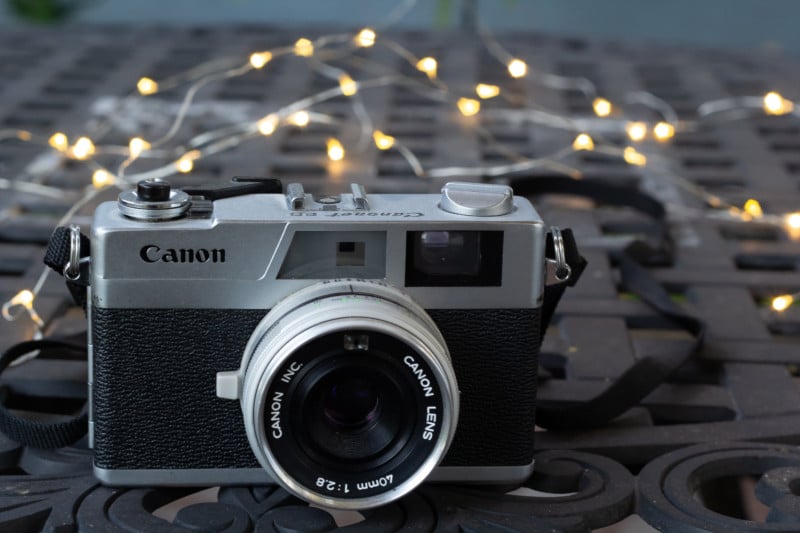
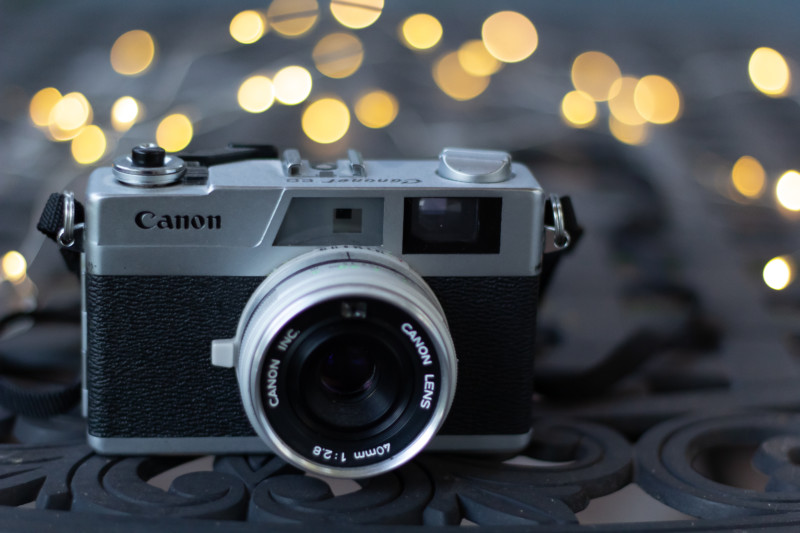
5. Incorporate interesting points of light into the background. While any background can be blurred and produce bokeh, experiment and stage your composure carefully. Points of light will become the most attractive forms of bokeh, so use sunlight or some other form of lighting to create a vivid but separated backdrop for your subject.
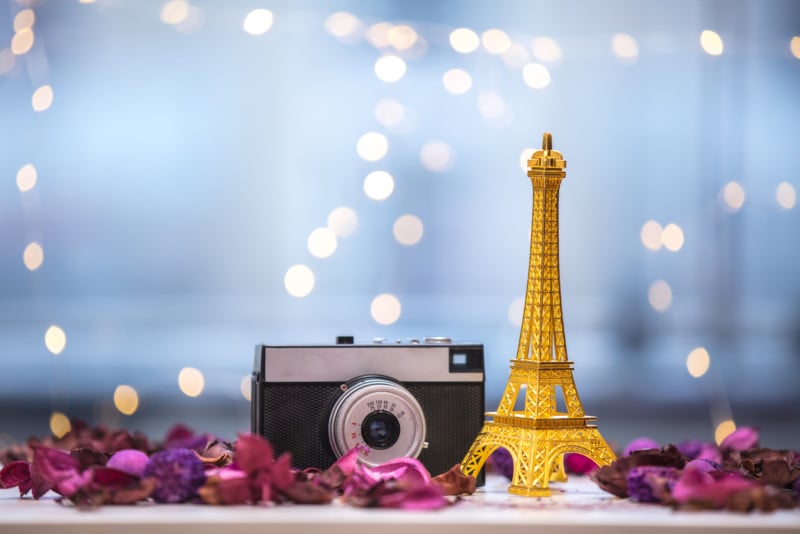
If you are staging a shot, experiment with small light point sources such as Christmas lights or fairy lights. Try adjusting the distance and quantity behind your subject and see what results you get.
What to Avoid When Creating Bokeh
1. Using too much bokeh. Of course, there can always be too much of a good thing. Bokeh is a byproduct of separating the subject of your photo from the background, so let it do its work while adding beauty to the image. Unless you’re going for an abstract shot, too much bokeh and blur can result in a messy image.
2. Using a dirty lens or sensor. Dirt, dust, or other particles can accumulate on your lens or sensor, and cause problems, especially when trying to create a smooth background and bokeh. The particles can reveal themselves easier when large smooth elements make up a portion of the image. And while many camera systems have vibrating sensor cleaning systems that usually activate when the camera is shut down, they may not remove everything.
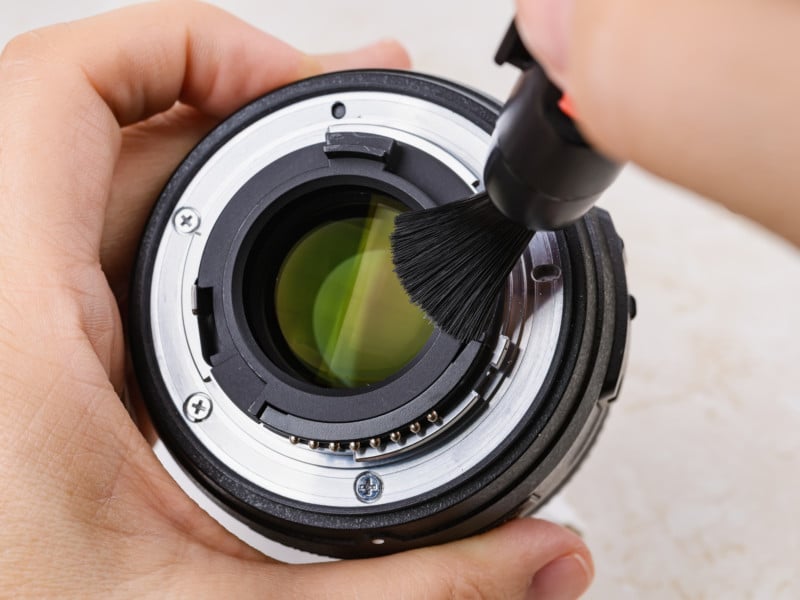
Using standard cleaning tools including bulb air blowers, cleaning fluids, and microfiber cloths, clean your lenses often to ensure particles don’t build up on the surface.
Sensors are a little more tricky to clean and require more care to ensure it’s not damaged. You can use blowers and brushes to carefully remove any dirt or dust, but anything beyond that might be better left to a camera shop for professional cleaning.
3. Leaving digital noise in your image. Like dirt or dust, digital noise in an image can be easier to see within the smooth bokeh of the photo. Noise can happen when using a higher ISO setting while shooting low-light photos. All modern photo software includes some type of feature that removes this noise, smoothing out any rough patches. Be sure to check for this noise before finishing your post-processing workflow.
Faux Bokeh Created with Software
In addition to creating beautiful bokeh with optics and physics, you can also achieve the same look these days with computational photography and software.
Most of us are already aware of software-assisted background blurring from its implementation on our mobile phones. Both Apple and Android devices have their own versions of “portrait mode” in their camera apps, which lets the user identify a subject while the software uses an algorithm to softly blur the background to simulate bokeh from a wide-open lens. The actual results of these portrait modes vary greatly in quality.

Many modern photo software suites offer features that simulate lens blur, usually offering much more control than the mobile phone camera apps. Adobe Photoshop, one of the most popular image editors, features a lens blur tool, and Adobe Lightroom uses radial and linear gradient tools to apply custom blurring to specific areas of a photo.
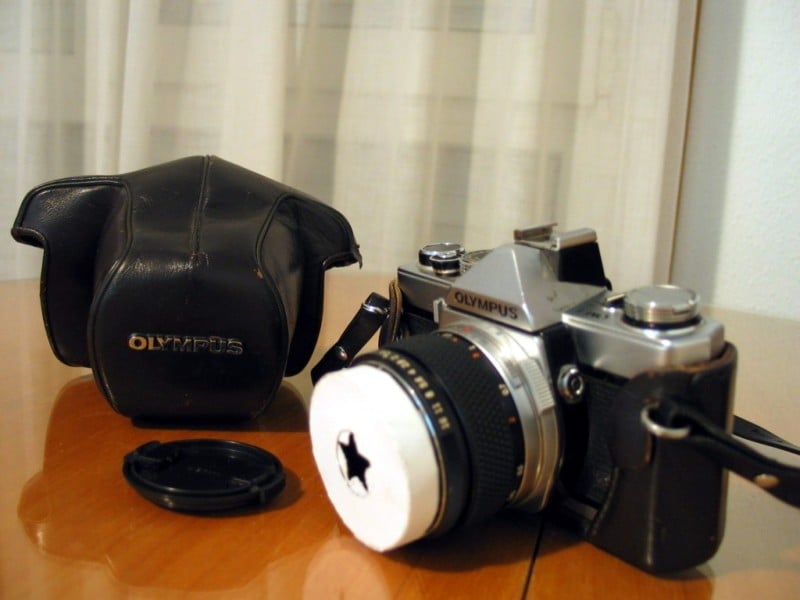
Creating Bokeh with Custom Shapes
As we discussed before, the shape of a lens’s aperture blades determines the shape of the bokeh light points in a photo, and of course, there’s no easy way to change that after a photo is captured. However, we can modify the bokeh using a fairly simple trick; filtering the light before it enters the lens in the first place.

This can be accomplished by using or creating a custom filter that will go in front of the lens. There are filter kits from various retailers that come with pre-made filters, but it’s usually better to just create a do-it-yourself filter.
Essentially, you’ll be creating a circular piece that fits your lens out of black cardboard or other sturdy paper, and then cut the desired pattern out of this piece. Then simply tape the filter to the end of your lens.

Bokeh is an amazing tool that can be used artistically in many ways. The variety of light sources that can be used to create beautiful, creamy bokeh is just as endless. Be sure to get out there and experiment — who knows what you’ll end up creating!
Image credits: Stock photos from Depositphotos.